Customizing a slide master sounds a lot harder than it actually is. In this article I cover the steps to edit your slide master. It is time to stop manually formatting all aspects of your presentation and set it up how you want it from the start.
What is a Slide Master?
A slide master is the template for your presentation. It contains the different layouts you can use to display content.
It also determines the theme, default fonts, font sizes, font colors, content box sizes and more.
Why should I customize it?
The main reason is to reduce the amount of time many people waste manually formatting their slides. It is so much easier to go into the master to change the font, font size, color, etc. across all slides using a layout than it is to manually adjust these items on each and every slide.
If you do this before you create your presentation it will come together much more quickly. It will also allow you to easily and consistently make changes across all your slides if you decide some adjustments are necessary.
It sounds too technical for me
I call B.S. You may not be the most tech savvy person on the planet, but anyone can edit and make changes to a slide master easily. Don’t be afraid or lazy, just do it.
Ok, fine, how do I edit it?
I will go over the steps for Microsoft PowerPoint in this article. If you use another presentation program the steps I cover here most likely will be similar in your program as well. If not, I’m sure you can find a YouTube video online showing you how to do it. I posted an article covering these steps for LibreOffice Impress here.
Microsoft PowerPoint
PowerPoint is the elephant in the room. This product single handedly took over business meetings starting in the mid-90s. While other products have come to market since, PowerPoint is still the one to beat.
To edit the slide master click the View tab and then select Slide Master.
When you do that it will bring up a contextual tab Slide Master.

This allows you to edit the master, create new layouts or modify existing ones, change the theme, colors, fonts, effects and more. Here is a brief description of each feature in the Slide Master contextual tab.
Edit Master section
Insert Slide Master: Add a new slide master to the presentation.
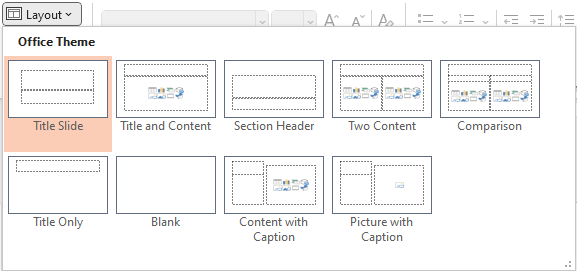
Insert Layout: Add a custom layout to the master slide set. Once it’s created, you can easily add slides that match the new layout to your presentation.
Delete: Remove this slide from your presentation.
Rename: Rename the layout to easily find it in the layout gallery.
Preserve: Keeps the slider master with the presentation even if it is not used.
Master Layout section
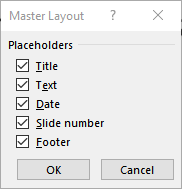
Master Layout: Let’s you choose the elements that will be part of the slide layout.
Insert Placeholder: Insert a placeholder for the type of content you want
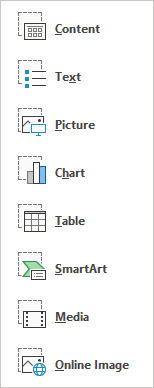
- Content: The default and most commonly used placeholder. It allows any content type to be inserted.
NOTE: The rest only allow the specified type of content. It is only recommended to use them when you want to restrict the content to a specific type.
- Text: Only allows text
- Picture: Only allows a picture
- Chart: Only allows a chart
- Table: Only allows a table
- SmartArt: Only allows a SmartArt graphic
- Media: Only allows a video
- Online Image: Only allows an image from an online source
Title: Placeholder can be toggled on (default) or off depending on the layout needed
Footers: Just like the Title can be toggled on (default) or off based on layout needs.
Edit Theme section
Themes: Allows you to completely change the current theme to a different one. You can also save any changes as a new theme to reuse again. This option allows you to start with an existing theme and customize it instead of starting from scratch.
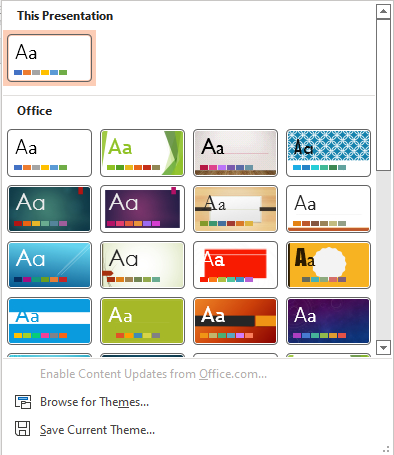
NOTE: If you are only looking to change to an existing default theme without customizing it, you can do that from the Design tab and you do not need to edit the Slide Master.
Background section
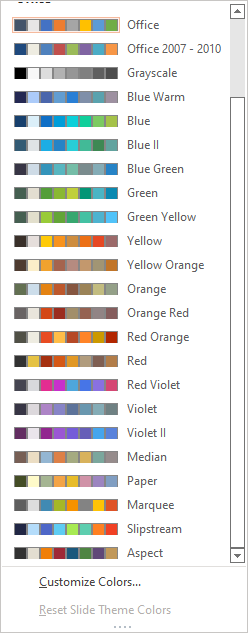
Colors: Lets you change the color palette of the entire presentation with a simple selection from 23 pre-defined palettes or you can create your own custom color palette. This mostly applies to graphics and charts you insert into the presentation.
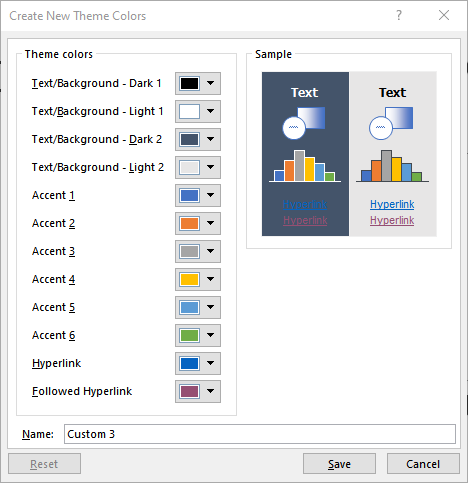
If you want to change the font to a single color, use the Customize Colors… option to choose the Text/Background – Dark/Light 1 & 2 options.
If you want to customize each level of font, you can format directly using the Home tab font color option after highlighting the level in the Slide Master view.
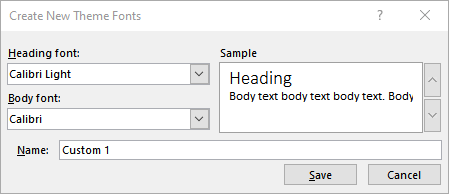
Fonts: Change the default font for the theme. Allows you to specify the default Heading font and Body font.
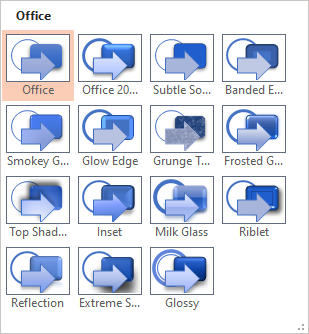
Effects: Changes the general look of objects in your document by changing the borders and shading of objects.
Background Styles: Give you the choice of a few pre-defined backgrounds or a fully customized one.
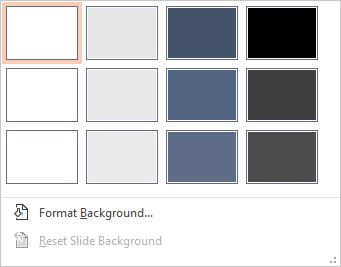
Hide Background Graphics: Lets you hide any background graphics on the slide
Size section
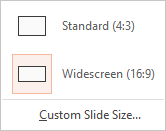
Slide Size: Lets you choose from Widescreen (16:9) aspect ratio (default) or legacy Standard (4:3) aspect ratio. You can also create a custom slide size if you choose.
Close section
Close Master View: Use this to exit the Slide Master editing tab and return to your presentation.
Conclusion
As you can see it only takes a few minutes and is really easy to edit and customize your slide master. Have fun, experiment and let your presentation showcase your content professionally and consistently without manual formatting on each slide.
Presentation Series
Be sure to check out the other articles in my presentation series:
Using PowerPoint’s Presenter View (Nov 2021)
10 Tips for Creating a Good Slide Deck (Dec 2021)
15 Tips for Giving an Effective Presentation (Jan 2022)
Customizing a Master Slide – LibreOffice Impress (Feb 2022)
More Training
You can find more free training and help for PowerPoint and other Microsoft 365 apps on their site: Office apps help and training (microsoft.com)
| Access | PowerPoint |
| Defender | Project |
| Delve | Publisher |
| Excel | SharePoint |
| Forms | Skype for Business |
| Kaizala | Stream |
| Microsoft Lists | Sway |
| Microsoft Teams | To-Do |
| OneDrive | Visio |
| OneNote | Word |
| Outlook | Whiteboard |
| Planner | Yammer |
Last Updated on August 16, 2022